Do you ever find yourself searching for the perfect image to illustrate a concept or decorate your content, but coming up short? Have you ever wished for an assistant that could create visualizations on demand, tailored to your specific requirements?
If so, we’ve got great news for you: the Midjourney Bot on Discord can be that assistant! This tool integrates artificial intelligence with visual creation, allowing you to generate custom AI images through a simple command.
What’s more, the Midjourney Bot can be easily added to your personal or shared Discord server, providing a seamless way to incorporate AI-driven image generation into your creative workflow. All you need is an active Midjourney trial or subscription, and you’re good to go!
Below, we’ll provide a step-by-step breakdown of three methods for adding the Midjourney bot to your Discord server. After that, we’ll answer some frequently asked questions about using Midjourney Bot. Check out Method 3 if you want my personal favorite that I’ve been using for almost a year.
Let’s dive in!
Method 1: Adding Midjourney Bot through the Official Channel
- Open Discord.
- Navigate to the official Midjourney channel.
- Click on any of the “Newcomer Rooms” on the left panel.
- Look for a post created by the Midjourney Bot.
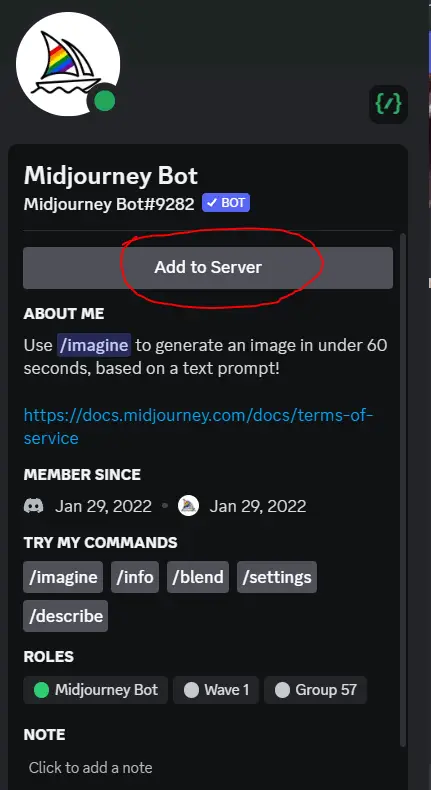
- Click on the bot’s name or profile picture.
- Choose the “Add to Server” option.
- From the drop-down menu, select the server where you want to add the Midjourney Bot.
- Click “Continue.”
- To authorize, click “Authorize.”
- Confirm you are human, and you’re done! The bot has been added to your server.

Method 2: Adding Midjourney Bot from the Discord App Directory
- Launch Discord.
- Select the server where you want to add the Midjourney Bot.
- Click on your server’s name in the top left corner.
- From the drop-down menu, select “App Directory.”
- Type “Midjourney” into the search box.
- From the search results, select the Midjourney Bot.
- Click “Add to Server.”
- From the next drop-down menu, select your desired server.
- Click “Continue.”
- Authorize the bot by clicking “Authorize,” and then confirm that you’re human.

Method 3: Adding Midjourney Bot via Direct Messages
Note: You must have interacted with the Midjourney Bot before for this method to work. Also, this is by far my preferred method for using Midjourney, it makes things way easier to keep track of!
- Open Discord.
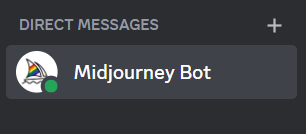
- Navigate to your Direct Messages (click the Discord logo in the top left corner of your screen).
- Locate your chat history with the Midjourney Bot.
- Click on the bot’s name or profile picture.
- Select “Add to Server.”
- Choose your desired server from the drop-down menu.
- Click “Continue,” then “Authorize,” and confirm that you’re human.

FAQ: Using the Midjourney Bot on Discord
Q: How do I use the Midjourney Bot after adding it to my server?
A: To use the Midjourney Bot, simply type “/imagine” followed by a description of the image you want to generate. Or head over here for the entire list of Midjourney commands.
Q: Can I restrict the bot’s access to specific channels?
A: Yes, you can limit the bot’s activity by modifying your channel settings. Select “Edit Channel,” navigate to the “Permissions” tab, and uncheck “Use Application Commands” for the bot.
For more control, visit “Settings > Integrations > Permissions” and adjust the bot’s permissions there.
Q: Will images generated on my private server be visible to other users on Midjourney.com?
A: Yes, images created on private servers will be visible to other Midjourney users on Midjourney.com and in their gallery. If you want more privacy when creating images, this article outlines what options you have for public vs stealth mode. Alternatively, here’s how to remove a public image from the gallery.
Q: How do I manage the permissions of the Midjourney Bot?
A: Discord offers comprehensive options for managing bot permissions. Visit “Settings > Integrations > Permissions” to customize the bot’s permissions.
Now you have all the knowledge to invite the Midjourney Bot to your Discord server. Not only that, but you also know how to manage its permissions and make the best use of its features.
So, it’s time to start creating and let your imagination run wild!


