Are you trying to fine-tune the details of your image generation in Midjourney but can’t quite get the hang of it? Does the output sometimes feel too detailed or too abstract for your liking?
No worries, we’re here to guide you through the intricate details of using the quality parameter in Midjourney.
So buckle up, take a deep breath, and let’s dive in!
To see how this fits into the wider strategy, open the parent guide.
What Does the Quality Parameter (–quality) Mean in Midjourney?
In the vivid world of Midjourney, the quality parameter, symbolized as ‘–quality’ or ‘–q’, is a tool at your disposal that can alter the level of detail in the images generated. It’s the secret ingredient to control how much time the system spends crafting your image.
Want an intricately detailed architectural marvel?
A higher ‘–quality’ setting might be the ticket.
But if you’re looking for something more abstract or gestural, a lower setting might be the way to go.
Remember, the ‘–quality’ parameter affects the initial image generation process and uses varying GPU minutes depending on the value you choose.
How Does the Quality Parameter Influence the Output?
Imagine you’re trying to generate a gestural abstract piece that thrives on simplicity.
A higher ‘–quality’ setting might overcomplicate your image, making it look out of place. But on the flip side, if you’re aiming for an architectural image rich in details, a higher ‘–quality’ setting can be your best friend.
So, it’s all about matching your desired image style with the right ‘–quality’ setting, or just simply using the default for each mode and not bothering with it.
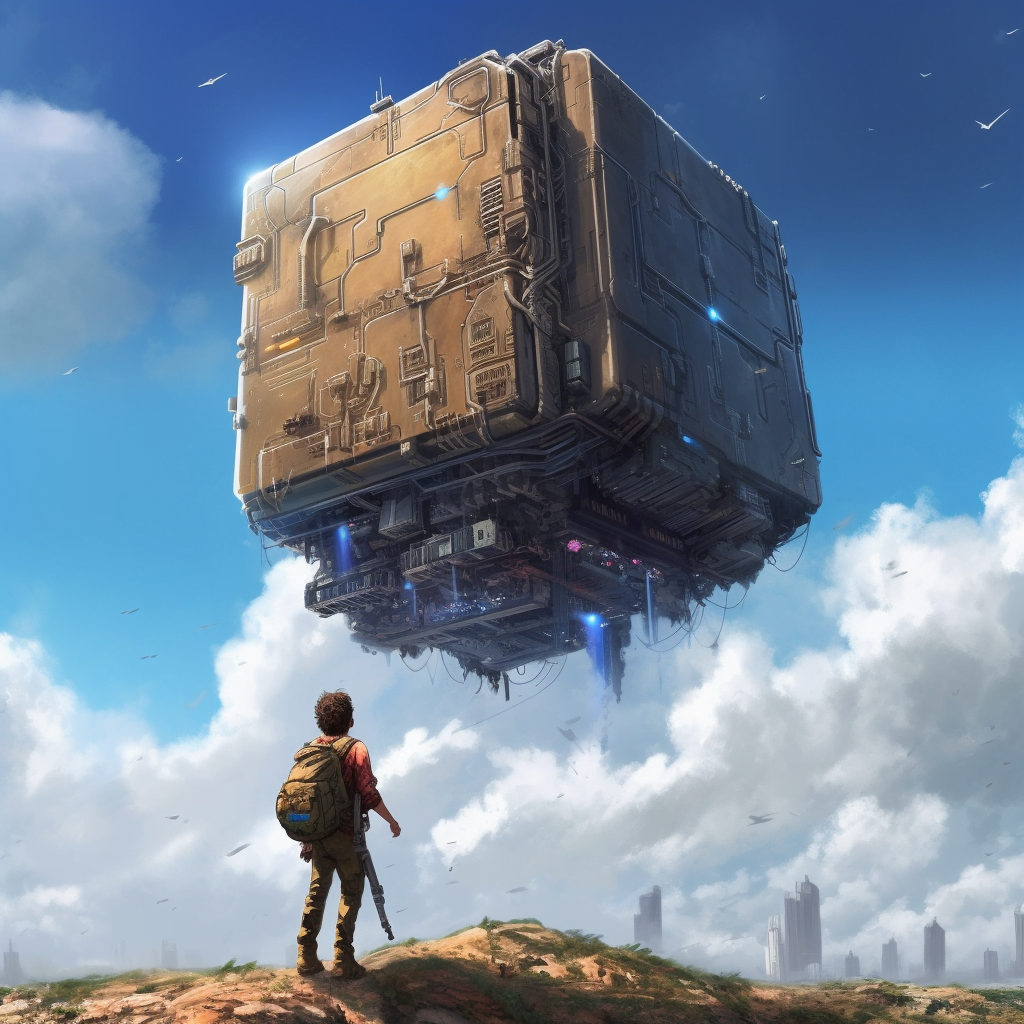
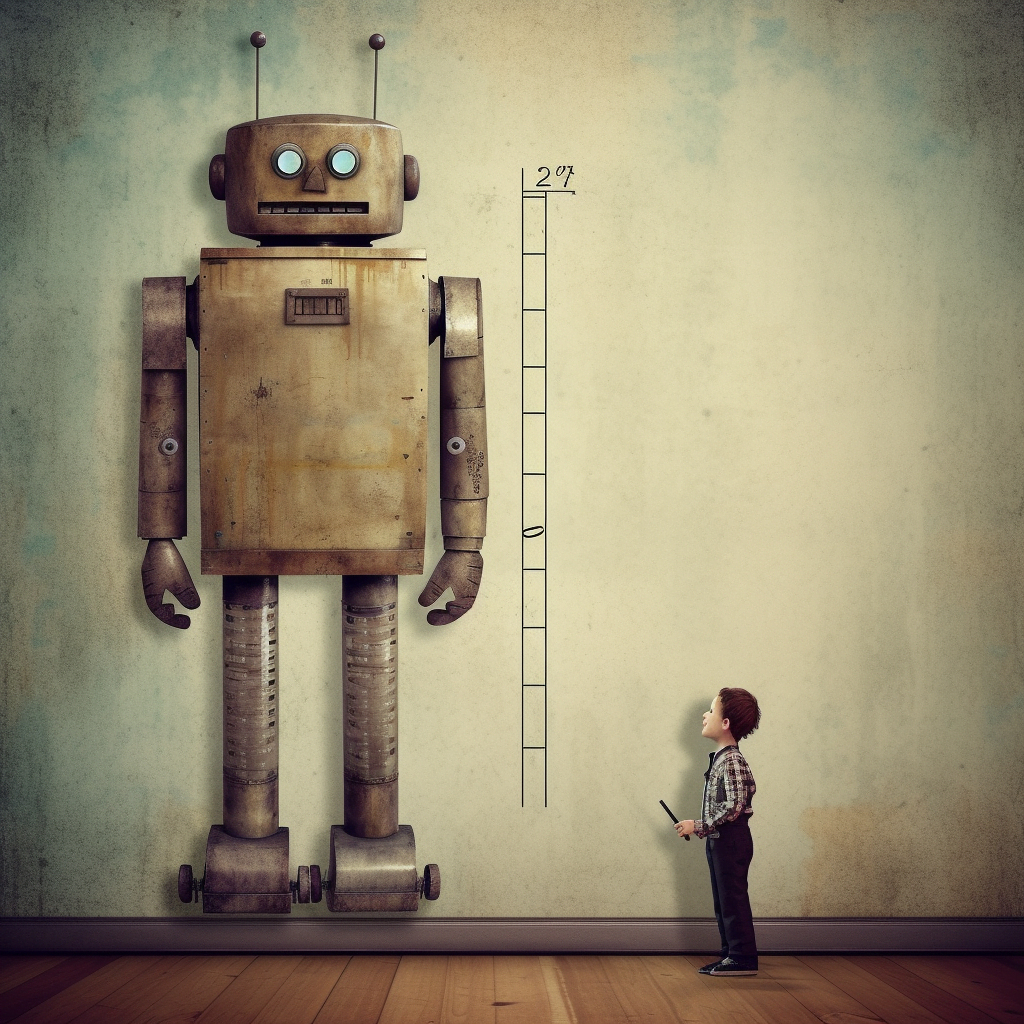
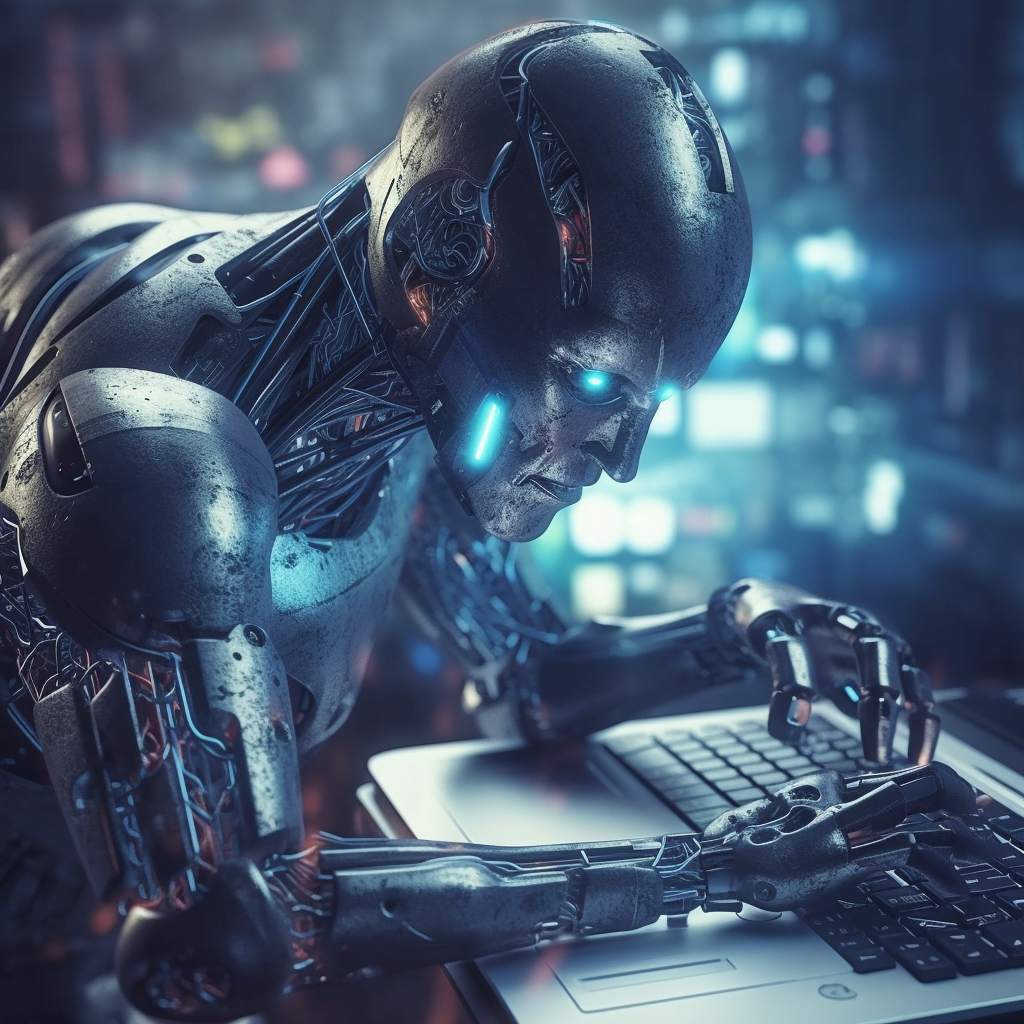
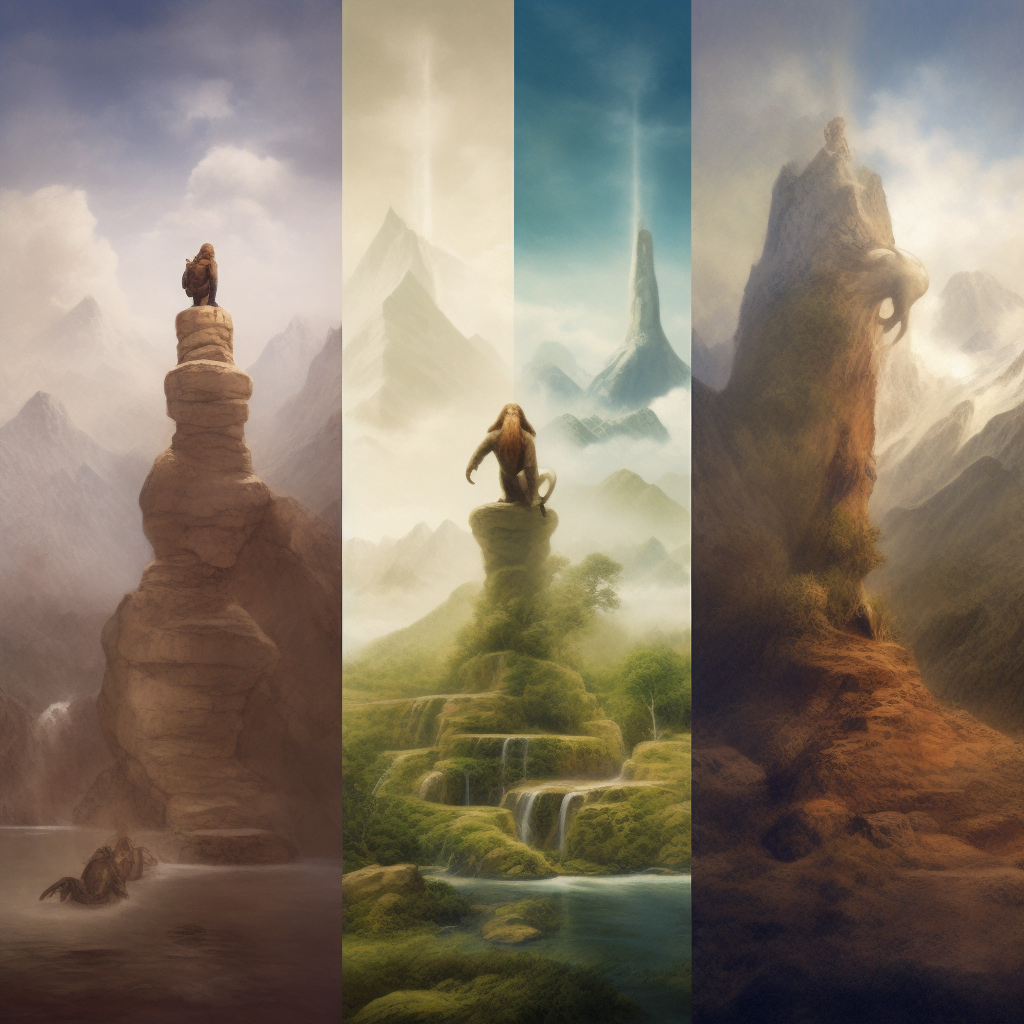
Here’s an example of the quality settings at 0.25, 0.5, and 1.0 with the same prompt by Midjourney using Version 5:
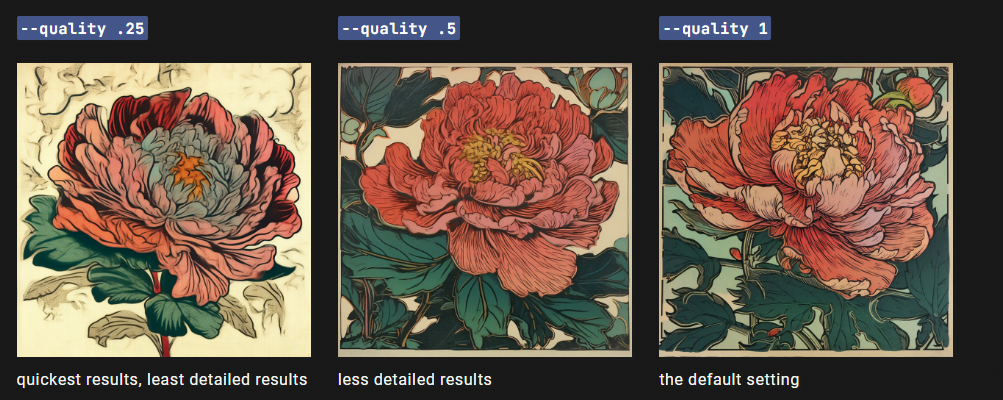
The parameter works with Model Versions 4, 5, and niji 5 and accepts values like .25, .5, and 1. I also believe it works with the new version 5.1 as I’ve tried it and there was no error response (but Midjourney hasn’t confirmed this).
Lastly, when you use lower-quality settings, less GPU time is taken up (meaning you save more Fast Hours) and the images are produced a lot faster (meaning you save time). For example, the image on the left above was made 4 x faster and used only 25% of the normal GPU time (because its 0.25, ie. 25% of 1).
How to Set the Quality Parameter in Midjourney?
Are you ready to tweak the ‘–quality’ settings? It’s as simple as adding ‘–quality’ <value> or ‘–q’ <value> to the end of your prompt.
For example, if you’re using Version 5 and want to generate a detailed horse illustration with less detail, your prompt could be: “/imagine detailed horse illustration –q .25”.
When to Use Lower Quality Settings?
Although it might sound counter-intuitive, the lower quality settings in Midjourney can sometimes be more beneficial than the higher ones, especially when simplicity is key. Here are some image types where a lower quality setting could shine:
- Abstract Art: These types of images often rely on the broad strokes and vague shapes, where too many details might muddle the overall impact.
- Cartoon Illustrations: For these fun and playful images, keeping things simple and not too intricate might better serve the overall aesthetic.
- Minimalistic Designs: When it’s all about clean lines and an uncluttered look, lower –quality can help keep things neat and uncomplicated.
- Sketch-like Images: If you’re aiming for a rough, hand-drawn feel, a lower quality setting could help mimic the look of a quick sketch.
Remember, in the end, it’s all about choosing the setting that best matches the image you’re hoping to create. Happy creating!