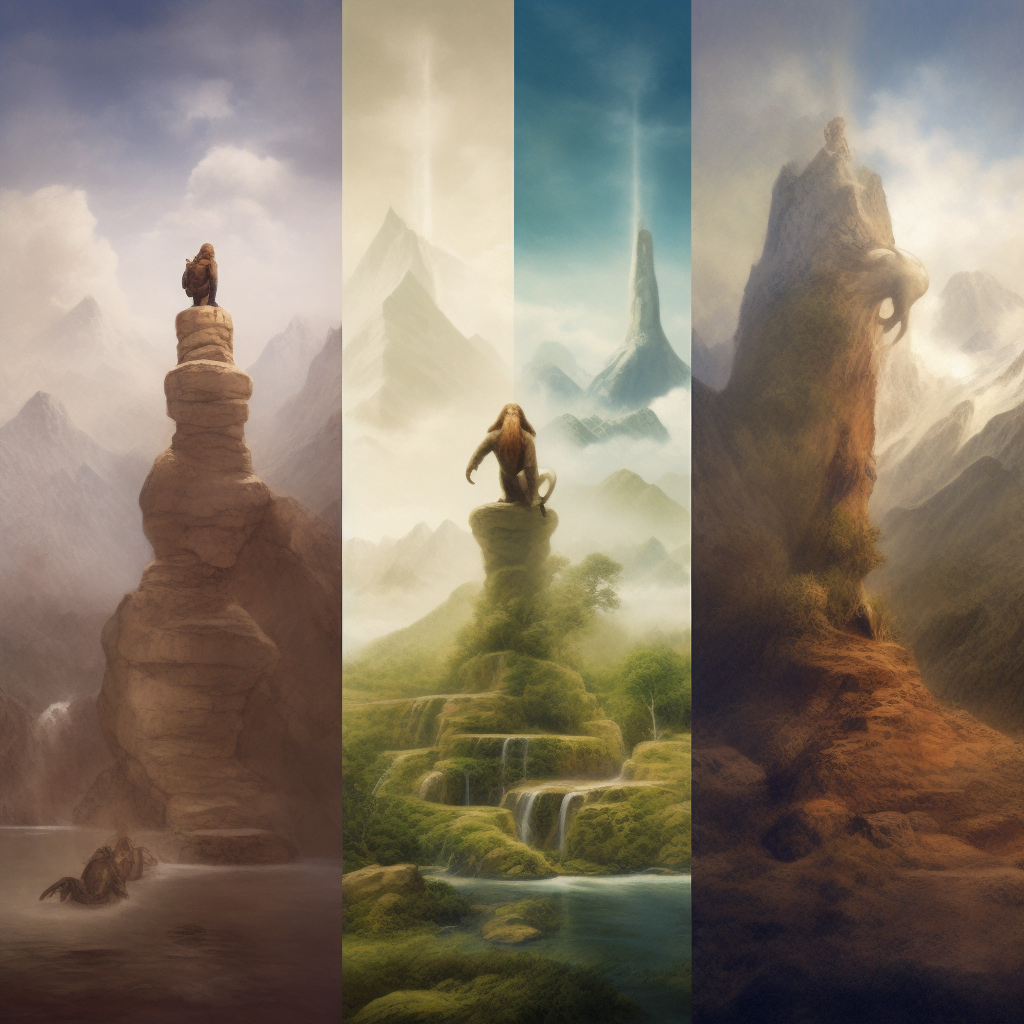
Understanding Midjourney’s ‘–iw’ command, or the image weight parameter, can feel like opening up a Russian doll. But knowing its functions can grant you the ability to manipulate images like never before, giving your AI-generated vimages the exact touch they need!
This article aims to demystify the ‘–iw’ parameter for all enthusiasts, novices, and professionals alike. Whether you’re an artist seeking new horizons of creativity, a technologist eager to unravel the subtleties of AI, or a curious wanderer in the world of tech, we’ve got you covered.
By the end of this guide, you’ll have an enriched understanding of this fascinating feature, empowering you to harness its capabilities like never before. Let’s get started and master the world of AI image generation with Midjourney’s ‘–iw’ parameter!
Want the broader roadmap? Start with the parent guide.
What Exactly is the ‘–iw’ Parameter in Midjourney?
Imagine you’re cooking a dish and you have a recipe that tells you how much of each ingredient to put in. If you like garlic a lot, you might add a bit more than the recipe says, right? If you’re not a fan of chili, you might put in less.
In this situation, you’re adjusting the “weight” of each ingredient in your dish based on your preferences.
In the realm of Midjourney, the ‘–iw’ parameter is like your ability to adjust the amount of garlic or chili in your dish. It stands for “Image Weight,” and it lets you decide how much influence an image you upload has on the final result the AI generates, compared to the text instructions you give.
When you use Midjourney, you can give it a text prompt, like “a sunset over a calm sea,” and it generates an image based on that. But you can also give it an image to use as a starting point, like a photo from a vacation you took once.
That’s when the ‘–iw’ parameter comes into play.
You can think of the ‘–iw’ value as a sliding scale. If you give it a higher value, it’s like saying “pay more attention to the image I gave you,” and the result will look more like your original image. If you set a lower value, you’re telling the AI “focus more on my text instructions,” and the result might be more imaginative, less tied to your original image.
So, the ‘–iw’ parameter is a pretty cool tool in Midjourney. It’s a powerful way to get just the results you want from this amazing AI image generator!
How to Use the ‘–iw’ Parameter in Your Prompt?
Here’s your roadmap to using the ‘–iw’ parameter effectively.
Step 1: Adding an Image URL to Your Prompt
To create a balanced concoction of image and text prompts, start by typing ‘/imagine’ as usual. When the prompt box appears, you have two ways to introduce an image:
- Drag the image file into the prompt box to add the image’s URL.
- Right-click and paste the link within the prompt box.
Note: Make sure the image URL ends with a file extension like .png, .gif, .webp, .jpg, or .jpeg. For more information, here is how to add and upload an image into Midjourney.
Step 2: Adding the Image Weight Parameter
Next in line is introducing the ‘–iw’ parameter.
At the end of your prompt, add ‘–iw’ followed by a value. This value decides the influence of your image prompt on the finished job. The default value is 1, while the range varies depending on the Midjourney Version Model.
For example, in Midjourney Version 5, the image weight range is 0–2, so adding a value of, say, 1.5, would give more weight to the image than it would normally have, and the opposite for 0.01-0.99.
Also keep in mind, your final prompt when uploading images has to follow this structure: Image URL-Text-Parameters.
Easy enough, right?
Tips for Harnessing the Power of the ‘–iw’ Parameter
To extract the most out of the ‘–iw’ parameter, here are a few tips:
- Don’t hesitate to experiment with different image weight values. The results can vary dramatically, opening doors to surprising visuals.
- Combine image weight with imaginative text prompts for a uniquely creative output.
- Keep in mind the Midjourney version you are using as different versions offer different features. For instance, V5 renders finer details better while V3 is good with abstract queries.
What is the Default Image Weight Value in Midjourney?
The default image weight value in Midjourney V5 and NIJI 5 is 1 with 0-2 as the image weight range. Version 4 didn’t have this feature.