Are you mystified by the new “arrows” that have suddenly appeared beneath your images on Midjourney? Is your curiosity piqued but you’re unsure what to do next? Worry not! We’re here to dispel the fog surrounding Midjourney’s latest feature, the “Pan” function.
So grab your virtual magnifying glass, and let’s dive into the world of panning your images.
What Does the “Pan” Feature Do in Midjourney?

As magnificent as it is to upscale and explore your images on Midjourney, we all crave a little more sometimes. The “Pan” feature is Midjourney’s newest addition, designed to quench this very thirst for exploration. You’ll see arrows positioned underneath your upscaled images (note, it’s only available if the image has been upscaled already).
Clicking these arrows will expand the image in the chosen direction, effectively panning it.
This panning action comes with its quirks, though. Currently, it changes the aspect ratio to a square 1:1 format. If you’re just looking to see more of your image, zooming out might be a more effective choice for now.
However, the Midjourney team is continually working to refine the feature, so better panning days are probably just around the corner.
Example of Pan Feature on Midjourney
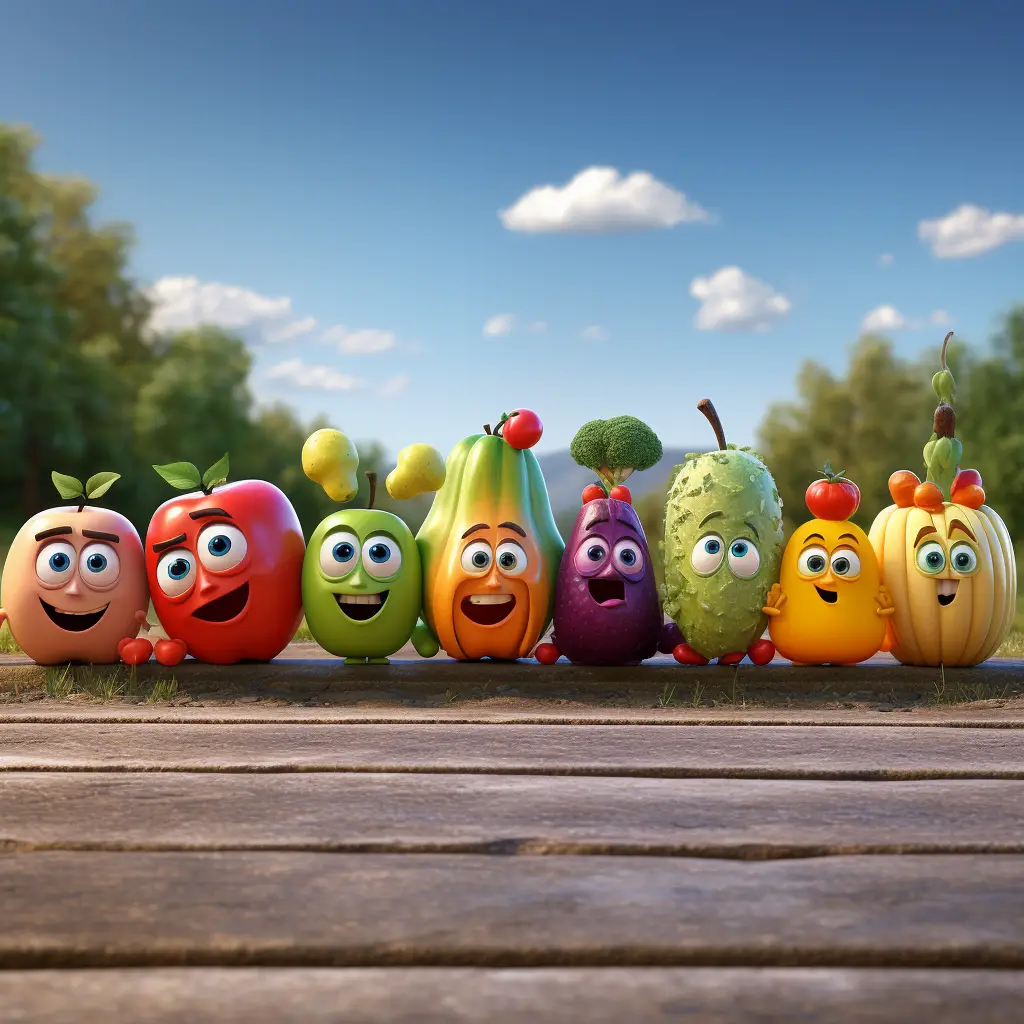
Let’s run through a quick sample of how to use the pan function as it’s probably the easiest way to help understand it. We’ll use the cute animated fruit from the image up above.
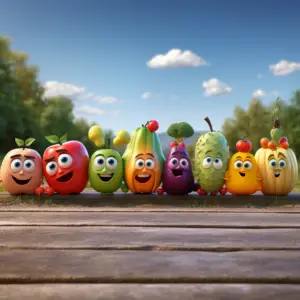
Here’s what that looks like with the left pan (if you click the left pointing blue arrow):

Right pan (right-pointing blue arrow):

Up pan (up-pointing blue arrow):

Down pan (up-pointing blue arrow):

Note the different sizes of the images and how the pan function changes the width or the height depending on which you use.
How Can I Make My Panned Images More Dynamic?
For those who want to take their creativity up a notch, Midjourney offers a “Remix mode”. To access this, type “/settings”. Remix mode allows you to change the prompts as you pan your images, opening doors to creating panoramic stories.
For instance, you can pan your image to one side while adding specific objects to the prompt, making your image more dynamic than ever. Let’s try the same image, pan to the left, and add a monkey for some quirky goodness:

Pretty cool effect! Note, when you first press the pan arrow, a pop-up box comes, in here you should delete the entire prompt and enter the new image you want to appear on top of your old image. For this one, I deleted the original prompt and typed in “monkey”.
Do note that the pan feature comes with a few limitations.
For now, it doesn’t support the variations feature on panned images, and it resets the image resolution to its default size when you zoom out. You also can’t pan both horizontally and vertically in a single operation. To avoid unwanted repetition, remember to change your prompts to include new details as you pan.
Are There Limitations to the “Pan” Feature?
While the pan feature brings a fresh and interactive approach to image manipulation, it has its set of constraints. You can only pan your images either horizontally or vertically, not both at once. Also, each pan operation is a bit of a leap of faith; you can’t control how much your image will expand with each click. Finally, there’s the issue of repetition.
The feature might repeat elements in the image, especially if you’re continuously panning in one direction.
To counteract this, Midjourney recommends changing your prompts while panning to include new aspects and details. While the feature is still young and prone to updates, this workaround can help you get the most out of your panning adventures for now.
So go ahead and explore the vast canvas that Midjourney has unrolled for you with its new Pan feature. While it’s not without its hitches, it’s a step in an exhilarating direction, making the world of image generation more interactive and engaging.


