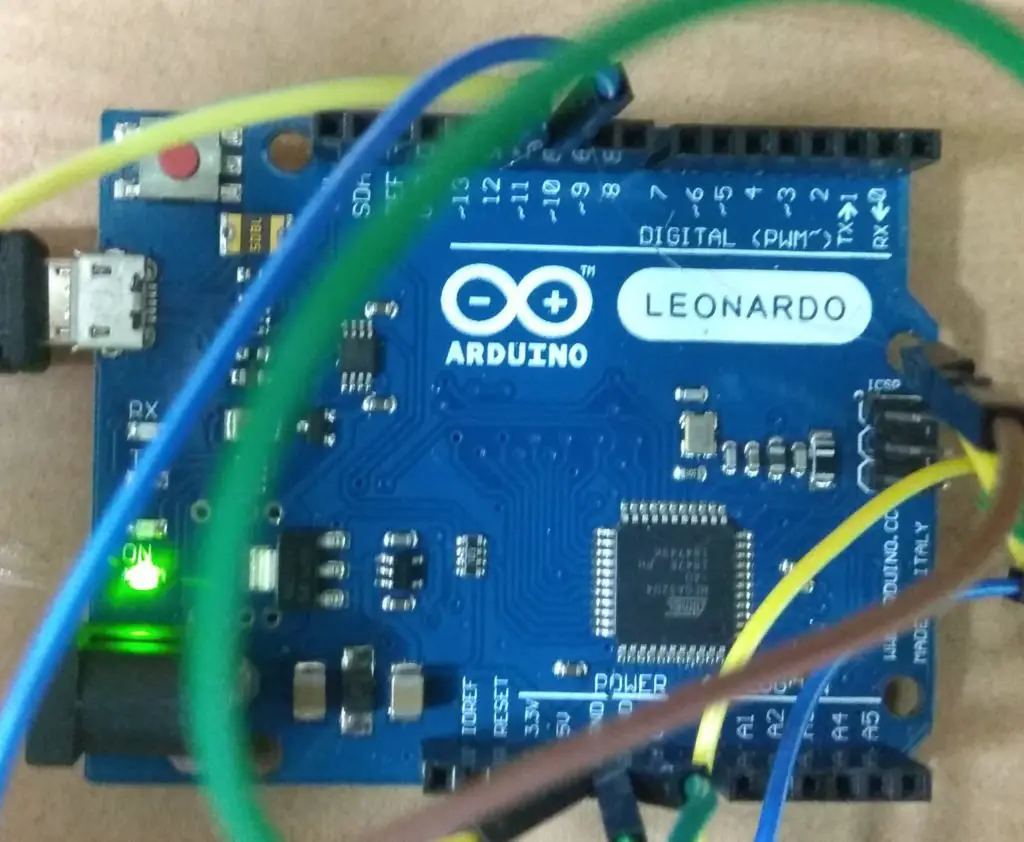
Usually, when I start a new project I have dreams of polished, well-documented code tested for every edge case. But with a deadline quickly approaching, I often fall into the old familiar three-step routine. Google. Ctrl-c. Ctrl-v.
That was the case with my recording sign for OBS from my recent article.
As I was putting that article together, I notice that the Arduino code was heckin’ long. And when I was going through code for my Fakey Fakey, I realized that I could make a few small changes to the recording sign code to make it a lot shorter.
In the end, I reduced the length of the sketch from 160 lines to a little over 50. I’m going to outline the changes, but if you just want the completed code, you can jump to here.

Refactors
First, I added an array and a string to store the IR codes and letter. Then, a variable to define the length of the array.
const unsigned long REMOTE_IR_VALUES[] = {0XFFA25D, 0XFF629D, 0XFFE21D, 0XFF22DD, 0XFF02FD, 0XFFC23D, 0XFFE01F, 0XFFA857, 0XFF906F, 0XFF6897, 0XFF9867, 0XFFB04F, 0XFF30CF, 0XFF18E7, 0XFF7A85, 0XFF10EF, 0XFF38C7, 0XFF5AA5, 0XFF42BD, 0XFF4AB5, 0XFF52AD};
const String KEY_VALUES = "QWERTYUIOPASDFGHJKLZX";
const int NUMBER_OF_BUTTONS = 21;
There is no length function for arrays in Arduino’s language and defining the length in a variable is common practice. Alternatively, the size can be calculated by getting the size (in bytes) of the array and then dividing that by the size of one of its values.
const int NUMBER_OF_BUTTONS = sizeof(REMOTE_IR_VALUES)/sizeof(REMOTE_IR_VALUES[0]);The setup block goes unchanged. This next bit of code from the main loop is not a change, but I didn’t explain what it did in my original guide.
if (results.value == 0XFFFFFFFF){
  results.value = key_value;
}
The remote controller sends the value FFFFFFFF whenever any button is held down. I’d much rather know which button is being held down, so the code above sets the result.value to the last button that was pressed.
This line towards the end of the main loop keeps track of the last button pressed.
key_value = results.value;
OK, back to the refactoring. Now that all the IR codes nicely stored in an array, when the Arduino receives a signal, all it needs to do is loop through that array and find out which one matches.
Once it finds a matching code, it can then send the corresponding keypress. But for the start and stop recording buttons, it also needs to interact with the light relay. So, let’s get those two cases out of the way first.
   if (results.value == REMOTE_IR_VALUES[0]) {
      digitalWrite(RELAY_PIN, HIGH);
      Keyboard.press(KEY_VALUES[0]);
      delay(100);
      Keyboard.releaseAll();
    }
    else if (results.value == REMOTE_IR_VALUES[1]) {
      Keyboard.press(KEY_VALUES[1]);
      delay(100);
      Keyboard.releaseAll();
      digitalWrite(RELAY_PIN, LOW);
    }
Finally, if the button pressed wasn’t one of the first two, it’s time to loop through the rest of the buttons.
 else {
   for (int i = 2; i < NUMBER_OF_BUTTONS; i++) {
     if (results.value == REMOTE_IR_VALUES[i]) {
       Keyboard.press(KEY_VALUES[i]);
       delay(100);
       Keyboard.releaseAll();
       break;
     }
   }
 }
Notice that even though an array isn’t used to store the key values, the correct key can be snatched by passing an index to the variable.
Keyboard.press(KEY_VALUES[i]);Conclusion
The refactored code sure is a lot prettier, but is it any better? The short answer is no.
Does it use less memory? Sure. But not enough to make a difference. Is it faster? Not really. It still has to do a conditional check against each IR code until it finds a match.
But really… it looks so much better!
Completed code
#include <IRremote.h>
#include <Keyboard.h>

const int RECV_PIN = 11;
const int RELAY_PIN = 10;
unsigned long key_value = 0;
IRrecv irrecv(RECV_PIN);
decode_results results;

const unsigned long REMOTE_IR_VALUES[] = {0XFFA25D, 0XFF629D, 0XFFE21D, 0XFF22DD, 0XFF02FD, 0XFFC23D, 0XFFE01F, 0XFFA857, 0XFF906F, 0XFF6897, 0XFF9867, 0XFFB04F, 0XFF30CF, 0XFF18E7, 0XFF7A85, 0XFF10EF, 0XFF38C7, 0XFF5AA5, 0XFF42BD, 0XFF4AB5, 0XFF52AD};
const String KEY_VALUES = "QWERTYUIOPASDFGHJKLZX";
const int NUMBER_OF_BUTTONS = 21;

void setup() {
  irrecv.enableIRIn();
  pinMode(RELAY_PIN, OUTPUT);
}

void loop() {
  if (irrecv.decode(&results)){
    if (results.value == 0XFFFFFFFF){
      results.value = key_value;
    }
    // I like to use the first button as the start recording button
    if (results.value == REMOTE_IR_VALUES[0]) {
      digitalWrite(RELAY_PIN, HIGH);
      Keyboard.press(KEY_VALUES[0]);
      delay(100);
      Keyboard.releaseAll();
    }
    // And the second button to stop recording
    else if (results.value == REMOTE_IR_VALUES[1]) {
      Keyboard.press(KEY_VALUES[1]);
      delay(100);
      Keyboard.releaseAll();
      digitalWrite(RELAY_PIN, LOW);
    }
    // If it wasn't the first two buttons, check the rest
    else {
      for (int i = 2; i < NUMBER_OF_BUTTONS; i++) {
        if (results.value == REMOTE_IR_VALUES[i]) {

          Keyboard.press(KEY_VALUES[i]);
          delay(100);
          Keyboard.releaseAll();
          break;
        }
      }
    }

    key_value = results.value;

    irrecv.resume();
  }
}
You might also be interested in reading about making an Arduino-based DIY Makey Makey.


